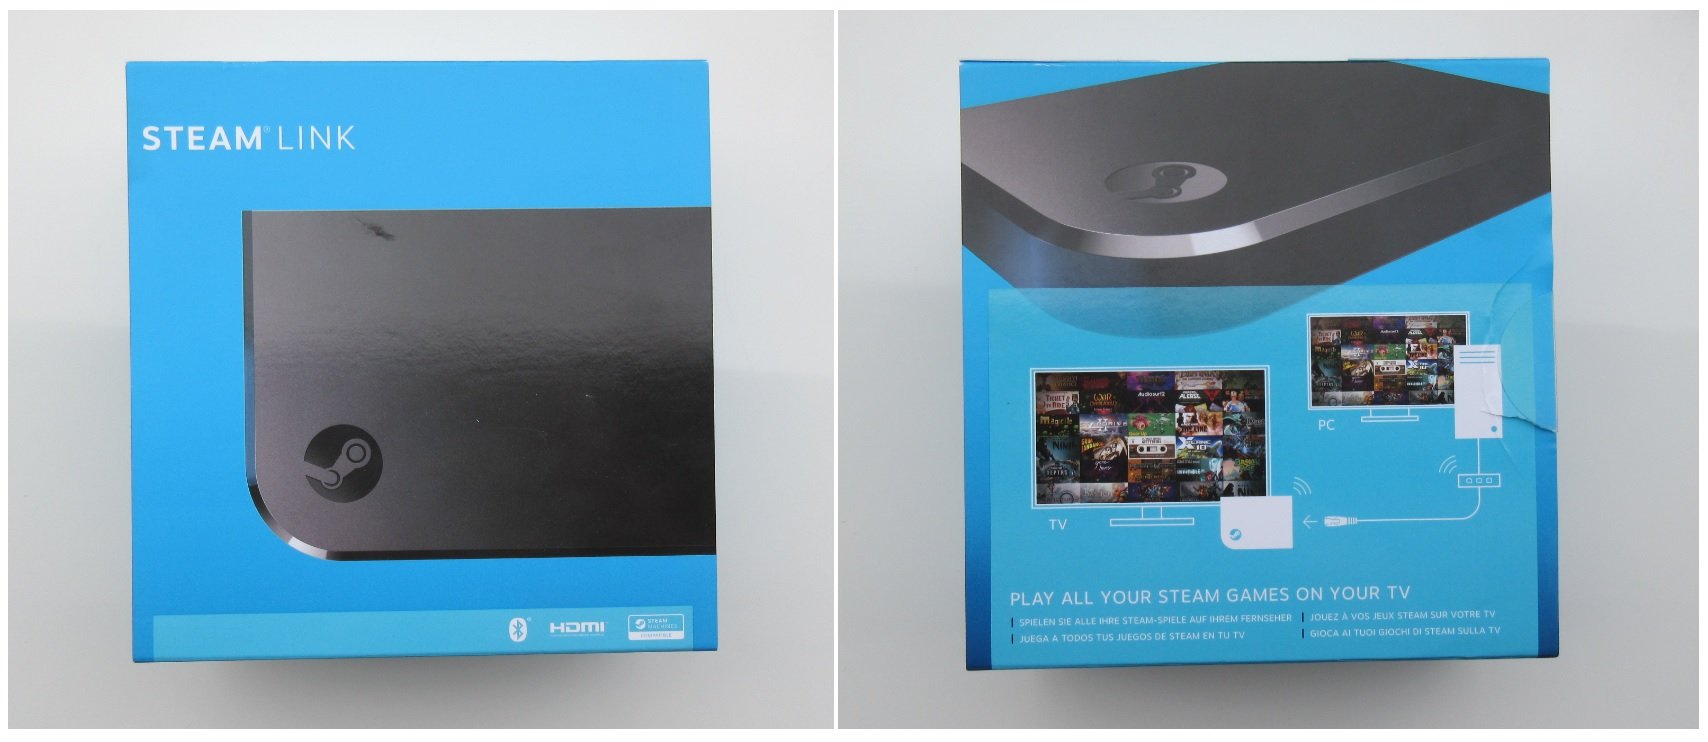
In this teardown, we disassemble a game-streaming device called the Steam Link.

The Steam Link allows you to play all your Steam games on your TV.
What's Included
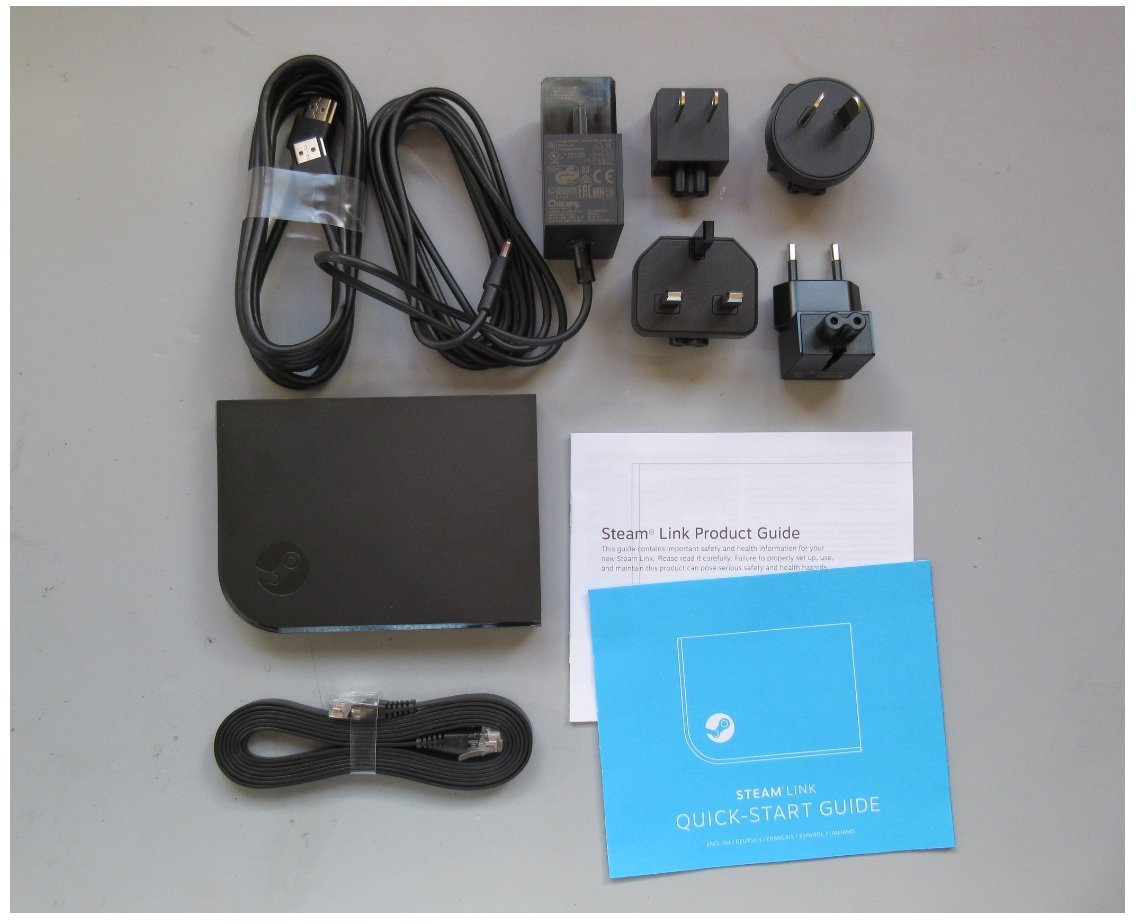
As can be seen in the figure below, the AC-to-DC power adapter that comes with this Steam Link device is designed for easily attaching your country's AC plug type. And, if you're curious, the AC-to-DC adapter allows for an AC input range of 100-240 VAC (50/60Hz, 0.4A) with a DC output of 5.1 V (2.5 A). Also included is an HDMI cable and a Cat 5 (category 5) Ethernet cable.
Besides the Steam Link, itself, an Ethernet cable, an HDMI cable, and the AC-to-DC power adapter (with various plug types) are all included in the box.
The Steam Link's Enclosure
The Steam Link has a very simple yet elegant design: it's thin, functional, and combines both glossy and matte black finishes. It's also surprisingly a bit heavy (more on this later).
The Steam Link has a very simple yet elegant enclosure design.
The Disassembly Begins
Only four small screws hold this two-piece enclosure together (see the figure below); these four screws are discreetly located underneath the anti-slip pad on the bottom of the enclosure.Only four small screws (that live underneath the anti-slip pad) are used to keep everything in place.
With the four screws removed, the enclosure's bottom piece gives way with a little encouragement. The single PCB simply, and surprisingly, lifts out of the top enclosure piece.

The enclosure's bottom piece requires some prying before it separates from the top enclosure piece.

The Steam Link is comprised of only one PCB, and it easily lifts out of the enclosure.
Why the Steam Link Is So Heavy
After removing the PCB from the elegant plastic enclosure, I immediately noticed why the device is so heavy...it's because of the PCB's huge heat sink! In fact, the heat sink accounts for nearly seventy percent (see the image below) of the PCB's total weight.I actually wonder if this massive heat sink is extreme overkill, or if a thermal engineering team performed an extensive thermal analysis which led to the conclusion that a heat sink of this size was mandatory.

The PCB's very large heat sink (left-side image) is what makes the Steam Link so heavy.
The massive heat sink is approximately 70% of the PCB's total weight.
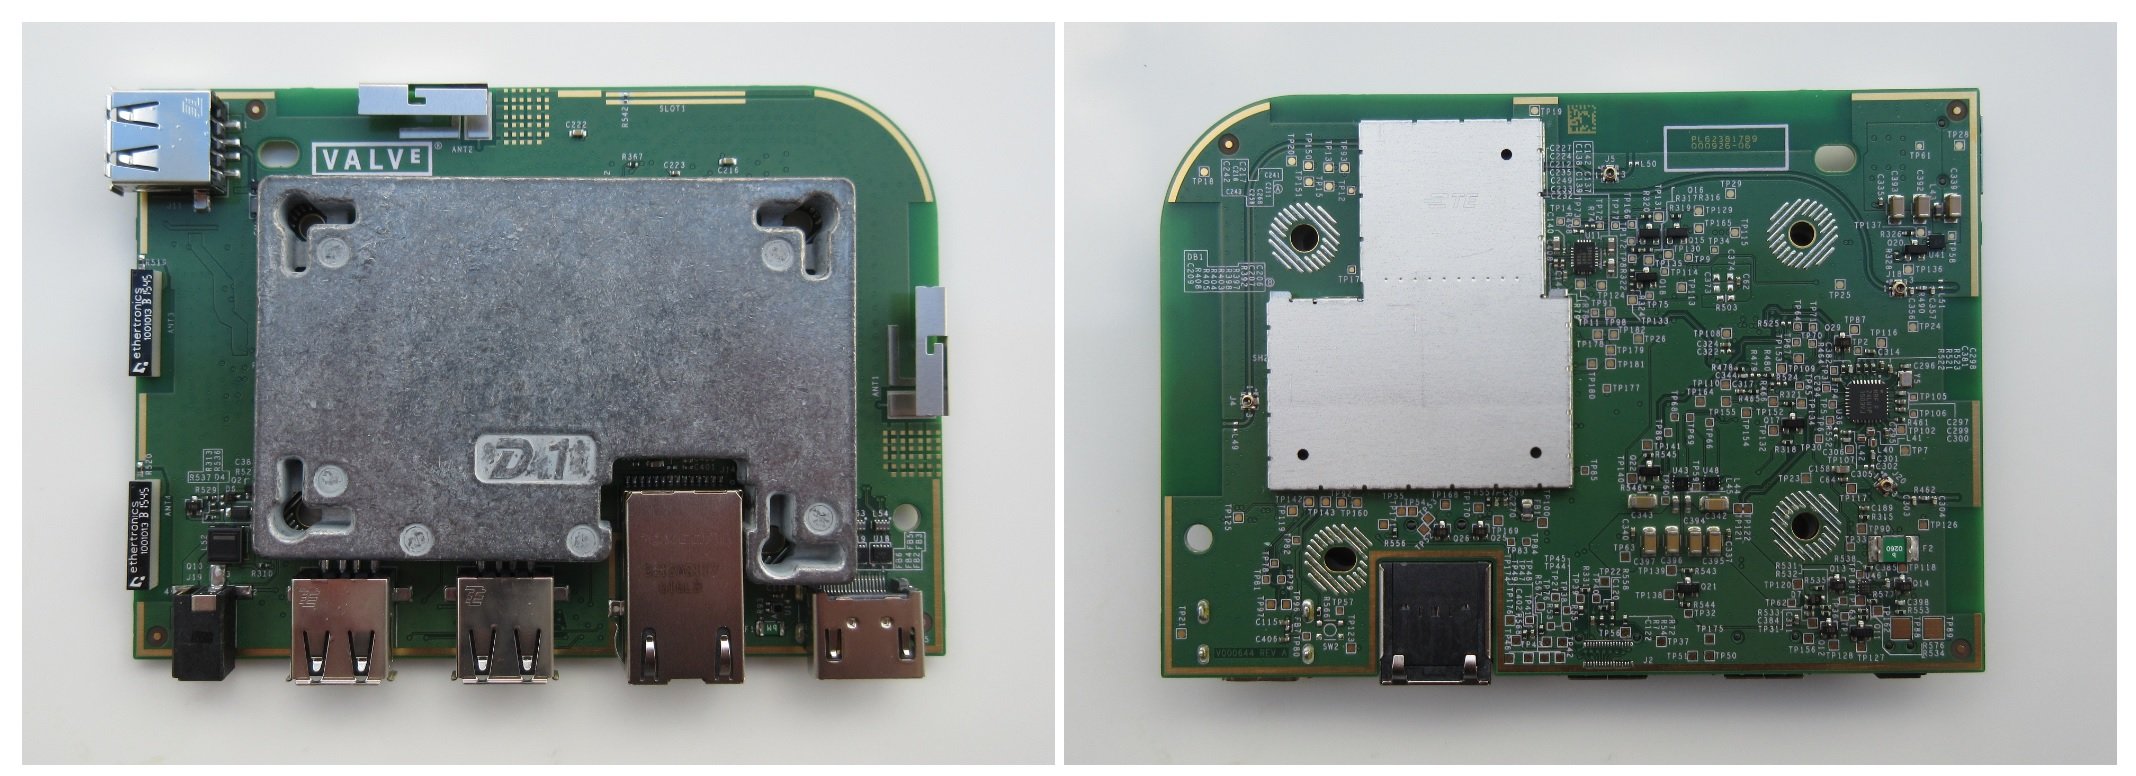
PCB Top Side
The image below shows the PCB's top side with and without the EMI shielding can. It's not hard to determine which single component makes use of the heat sink; given the immense size of the heat sink, I was expecting multiple components to dissipate their heat into the heat sink.Notice that TIM (thermal interface material) is used in two places: 1) between the IC and the EMI shielding can and 2) between the EMI shielding can and the heat sink.

Only a single IC utilizes (via the use of TIM) the heat sink.
The following figure calls out some of the major components found on the PCB's top side:

PCB's top-side components.
- USB 2.0 Controller: Part marking smsc USB2514
- Crystal: Part marking 24.0 MHz AMM2 J5C
- EMI Shielding Can: EMI countermeasures (no part marking)
- TIM: Thermal interface material
- Voltage Regulator: Part marking Marvell G867
- Ground Pads: These are used as the landing/grounding pads for the heat sink.
- CPU: Part marking Marvell DE3005-A1 (Note: same part ARMADA 1500-mini solution)
- ENIG Copper Plating: It's worth mentioning that the PCB's copper trace finish looks to be of type ENIG (Electroless Nickel Immersion Gold).
- Embedded Antennas: Part marking Ethertonics 1001013
- NPN Transistors: Part marking 2AR
PCB Bottom Side
Some of the components that reside on the PCB's bottom side have been identified in the figure below:
PCB's bottom-side components.
- Wi-Fi Combination Chip: Part marking Marvell 88W8897
- Voltage Regulator: Part marking Marvell G868
- Antenna Trace: Each of the antenna traces has stitched vias (on both sides of the trace) which serve as EMI countermeasures.
- RF SoC: Part marking NRF 24LU1
- Note: I'm surprised that this IC is not located underneath the EMI shielding box.
- NAND: Part marking Micron 29F32G08C
- DRAM: Part marking Micron 5XN77
Conclusion
The PCB inside this Steam Link looks to be professionally designed and professionally assembled. And when coupling this observation with the obviously very clean and professional-looking plastic enclosure, I would expect this device to operate trouble free, especially given the very-large heat sink. And while the heat sink does indeed look rather large, when it comes to thermal design considerations, it's typically best to have too much heat dissipation capabilities than not enough.Featured image courtesy of Valve.


No comments:
Post a Comment